Following from my post about making your own sourdough starter from scratch, here’s how to make a basic but delicious sourdough bread! There’s a lot of bread recipes on the internet and most of the serious ones will give ingredient weights. It is considered important to weigh ingredients because volume measurements for flour are very inaccurate – a cup of flour can weight more or less if it is humid or dry, densely packed or loosely packed, rye vs white vs wholemeal and so on. That said the more I bake the less I weigh ingredients. Once you learn what dough should feel like it’s pretty easy to start with about the right amounts, then adjust with a little more flour or water as needed. So here’s how I make a basic loaf of sourdough, without weighing. Depending on how active the starter is, a loaf can take a day or more to rise. In cold weather, leave it to rest in the warmest spot in the house (but not hot). For a stronger ‘sourdough’ flavour the dough can be left in the fridge overnight and taken out to rise the following day – the bacteria that give the sour flavour are still active in the cold while the yeasts that make dough rise are not.
Mixing
Pour 1/4 cup or so of active sourdough starter into a large mixing bowl. I use big plastic tubs which are large enough to knead the dough in, saves a lot of mess.
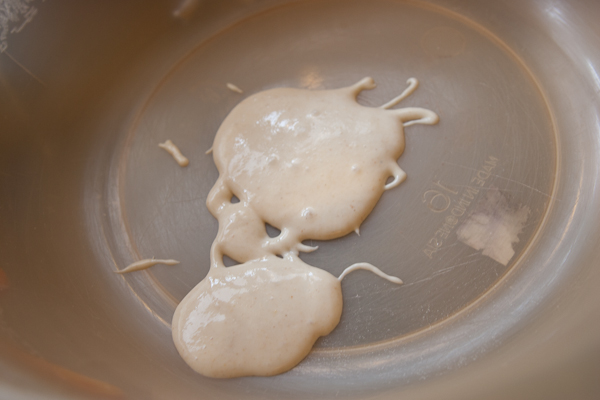
Add 3.5 cups of flour (OK here’s one weight measurement – 3.5 cups of flour should weigh around 500g / 1lb which will make one standard sized loaf). I like to use a mixture of whole grain and white flours but you can use any flour: rye, wholemeal or white in different combinations.
Add 2 scant tsp salt and briefly mix the ingredients together .
Now I add 1 cup of water. It’s pretty important to use filtered, spring or rain water when making sourdough as chlorinated tap water can stunt or kill friendly wild yeasts. I use a spoon (or a fork, for some reason I always like using a normal dinner fork for mixing dough) to stir the water into the flour mixture. It will probably look like a mix of rough clumps with some scattered crumbs at this point.
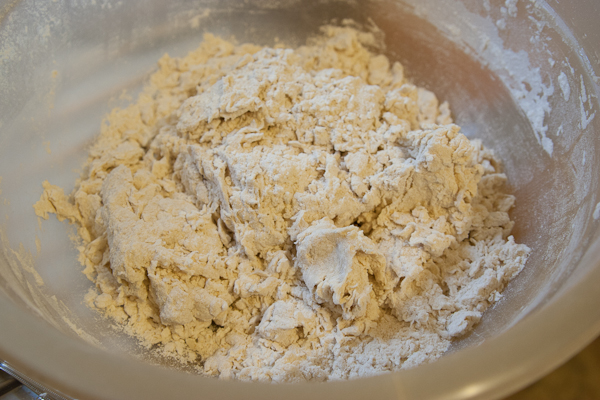
Now I start adding just a 1/5 of a cup, or a few tablespoons of water at a time. After each addition of water I use my hands to fold and stir the clumps together. I pay attention to how the dough feels – it has enough water when it comes together in a single workable lump. Usually this is in the ballpark of 1.5 cups of water. The dough will be sticky on the outside and bits stick to my hands but I can feel that it has some substance when it is kneaded – it isn’t loose or runny. If I’ve added too much water, I knead in 1 tbsp flour at a time to bring it back.


Once the the dough is a single lump, I cover it up and leave it alone for a while. Half an hour is enough, longer is fine too. This rest lets the water soak properly into the flour and the gluten will start to develop on its own, strengthening the dough.
Kneading
I knead the dough again by repeatedly folding it in half and squashing it flat. After its rest it should be much less sticky on the outside and should be knead-able without sticking to my hands. If it is still a little sticky I dust it with flour as I knead. After a minute or so of kneading it will be quite smooth – the outside will probably tear a little in places. At this point it can have a longer rest.

After some hours I knead the dough for another minute. Now it should be very smooth – depending on what flours where used it should make a smooth ball without any tearing.
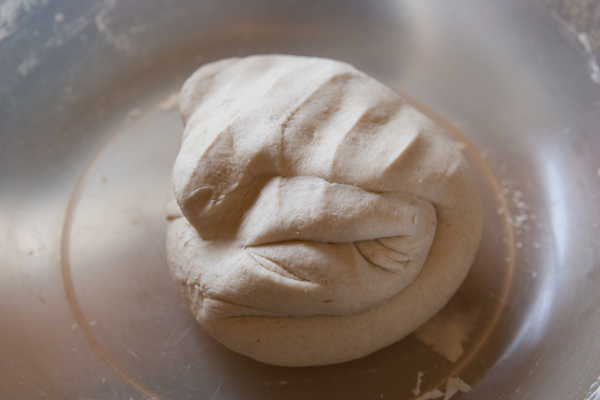
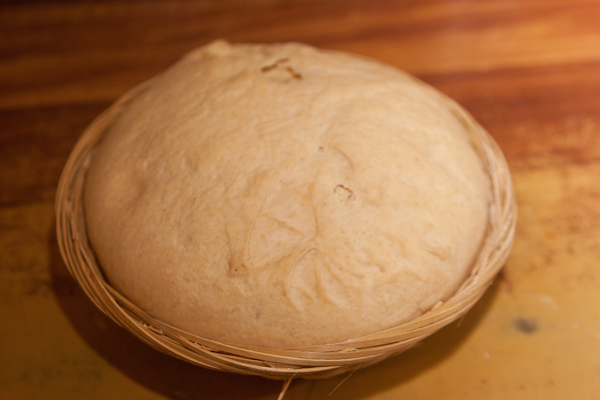
At this point it needs to be left alone until it has risen noticeably – around 1.5 times bigger than it was when first kneaded.
Shaping
Once risen I gently shape the dough into a boulé (ball shape) by folding the dough in halves or quarters to make a squarish lump then stretching the outside of the dough around itself and pinching underneath – just like making a big pizza dough ball. Here’s a good video I found, although I treat sourdough a bit more gently than this if it has been slow to rise.


The shaped loaf is now left to rise again, often in a special proofing basket called a banneton. The basket helps the boulé hold its shape and lets the skin dry a little so it doesn’t stick. I use normal round cane baskets, sprinkled with flour but the boulé can just be left on a benchtop covered with a clean floured tea towel too.
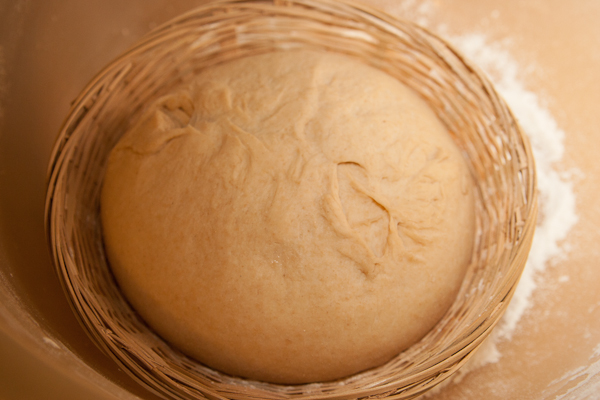
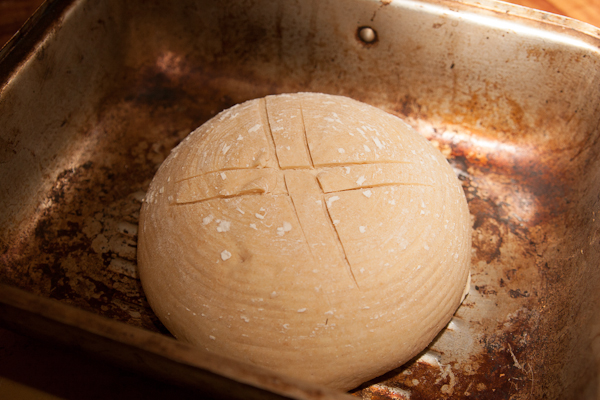
Just before baking I use a lamé – like a razor blade in a holder – to score the loaf on top – a finely serrated knife also works. Scoring helps the loaf expand as it cooks (and looks great too, it’s fun coming up with your signature score pattern).
Baking
For best results bread should be baked in a moist environment. This stops the crust from hardening too quickly and lets the loaf grow more in the oven. To achieve this I bake in a large (and well used) metal roasting tray with a lid – the moisture in the dough is trapped inside the pan. Alternatives are any large casserole or dutch oven with a lid. Some people also use a tray of water in the oven but the sealed smaller container works better for me. If baked ‘naked’ in the oven loaves should be cooked directly on a preheated pizza stone. The loaf can be transferred to where it will cook by carefully picking up or by sliding on/off a floured pizza peel or chopping board.
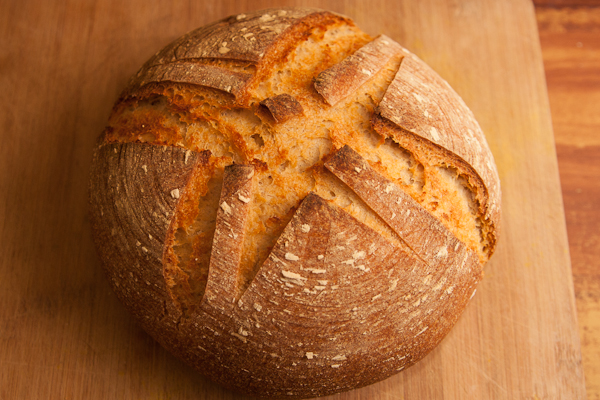
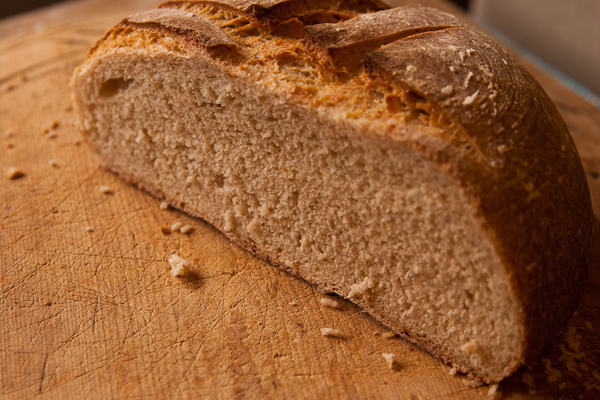
I cook at 230C/450F for 30 minutes with the lid on, then carefully remove the lid and bake for another 15-20 minutes or until cooked. The loaf is done when it’s nice and golden outside and sounds kind of hollow when tapped. I recommend getting a little probe thermometer though as this is the best way to know for sure – it’s properly cooked when it reaches 80C / 180F inside. Let it cool on a cake rack for a while before cutting.
Here’s a few useful bread baking accessories & resources:
Basic lamé for scoring the loaf
You can get pizza stones on Amazon but they break easily – if it’s going to be shipped around the world I suggest checking local kitchenware stores instead.
Dutch oven for baking
Peel – good for sliding the loaf into the pan or onto a pizza stone
There’s lots of good books about baking but the biggest influences for me are Peter Reinhart’s Bread Bakers Apprentice and Whole Grain Breads.

Worked perfectly….. so yummy