How To Dry Salt Cure Olives

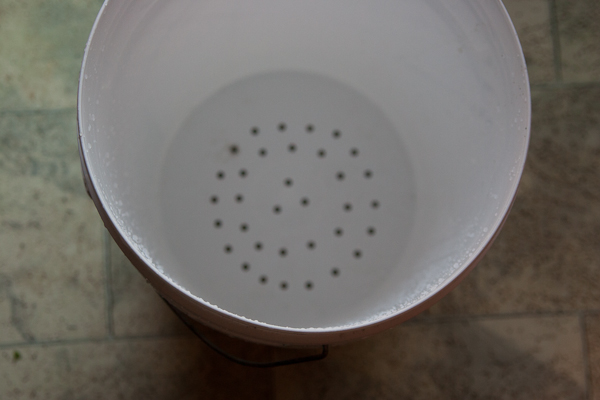
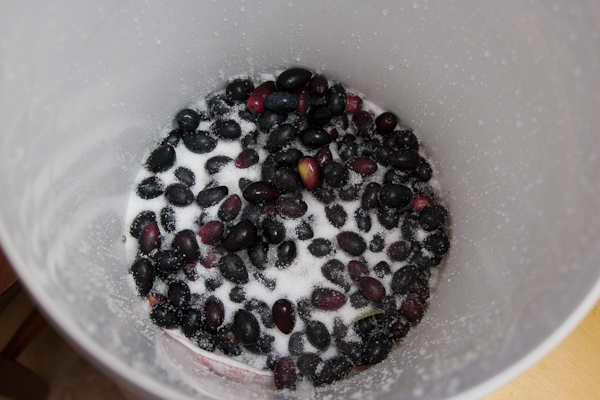
I love having lots of homemade olives around but I have to confess that sometimes I’m a bit slack with changing pickling liquid every day. Luckily there’s a method that suits my temperament very well – just chuck the olives and dry salt into a bucket and stir once a week. You don’t have to slit each olive or change the water or anything like that and best of all I think these are my favourite tasting olives too – they are kind of leathery and wrinkly, surprisingly they don’t actually taste all that salty though! Most of the salt draws liquid out of the olives and then runs away. Theres a really noticeable flavour of olive oil that I don’t get from brined olives. The method & equipment I’m using for this years batch is below. I bought 2 large plastic buckets with lids, and drilled holes in the bottom of one. The olives and salt go in the bucket with holes, which sits inside the other bucket to catch the juice. In previous years I’ve used a colander, anything that holds the olives and lets a bit of liquid drain out is fine.

Dry Salt Cured Olives – The method

1. Use bucket (or a large colander, large basket etc) with holes in the bottom so liquid can drain out. I sat a clean tea in the bottom of the olive bucket to stop too much salt falling out. Set the bucket over another bucket or tub to catch the juice.

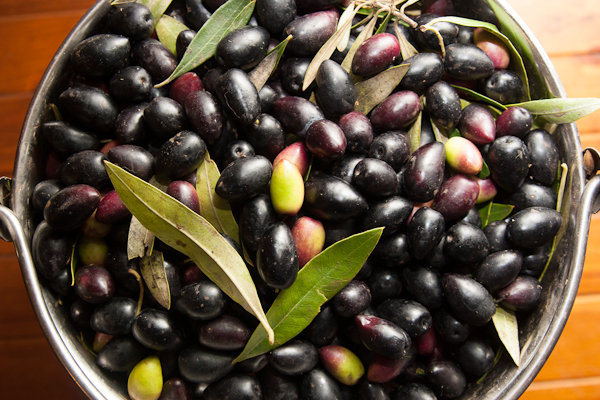
olives (2 of 2)

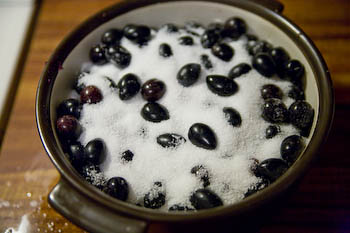
2. Layer olives with salt in the bucket – about twice the weight of olives to salt. A 20 liter bucket holds up to 10kg olives with 5kg salt. Cover all of the top with a layer of salt.

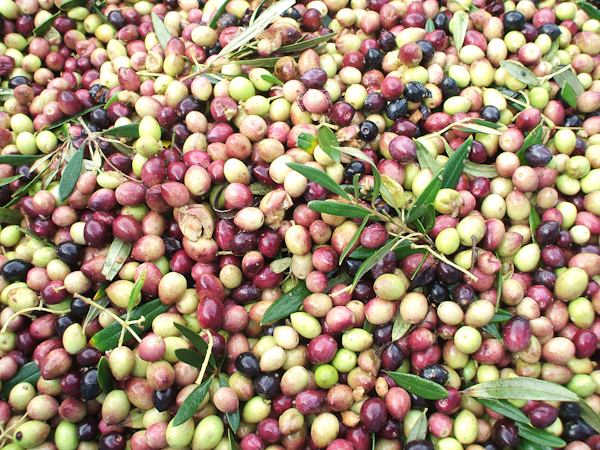
olives (1 of 1)

3. Stir the olives around once a week so that they all contact salt evenly – it’s easiest to empty the outer tub of liquid, tip the olives into it then back into the strainer, and finally add a fresh layer of salt on top.

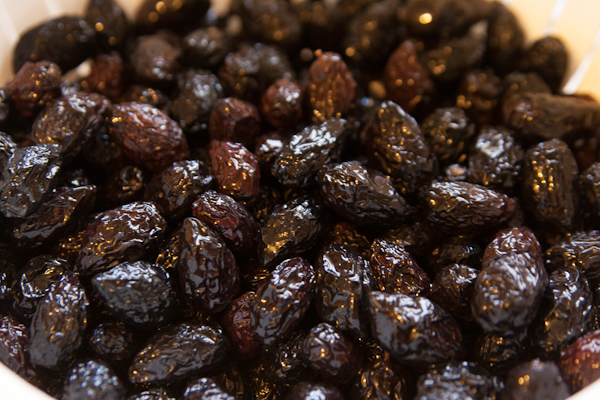
4. After a few weeks, start tasting. Continue the cure until bitterness is gone. This might take from 4-6 weeks, depending on the olives. When they are ready, remove olives from salt – I shook them through a big colander. Then rinse off remaining salt and let them dry.
salt olives (1 of 1)-2
Voila!

The cured olives can be stored in a 3% salt brine, or brine+vinegar but I like them best just kept in olive oil in jars or vacuum sealed bags. This year I mixed up chilli, garlic powder, fennel seeds and paprika to marinate the olives that were then vac-packed in serve-sized bags. They keep pretty well but I’ve seen recommendations to freeze them when vac packed to keep them fresh for even longer.
 

It’s Olive Season!

I spent a day recently with a few eager family members picking olives for oil, and a few for eating. This might sound a little sadistic but I really like picking olives. It’s a much easier job than picking grapes and you end up with nice soft skin at the end of the day because of all the oil that rubs off. It was a good day, sunny bar a few heavy showers that had us sheltering in the car. Peter, the farmer who sold us the olives, had a refreshing outlook on life. He said he does what he does because he loves it – the growing, picking, pruning, and of course fishing on the beach that is visible from his olive grove. “You don’t need money to be happy.” Not a new sentiment maybe but Its rare to hear someone say it and so obviously mean it.

olives (1 of 1)-3

We ended up with 500kg of olives – looking forwards to getting oil back from the press this week! I posted about the general method for picking olives  last time and nothing new to report – a few nice big bits of shade cloth spread out under trees to catch the olives, and little rakes to strip the branches. The rakes are sold by Italian stores like Gaganis Bros and Constante Imports in Adelaide and Melbourne respectively if you’re looking (I know Constante ship interstate, not sure about Gaganis).

olives (1 of 2)

Last time I cured some olives for eating, the dry salt cured were the most delicious so I’ve made a much larger batch this year – Now that they are ready to eat, I’ve written up the whole method here.

olives (1 of 1)-4


Quince Paste – an easy(ish) recipe

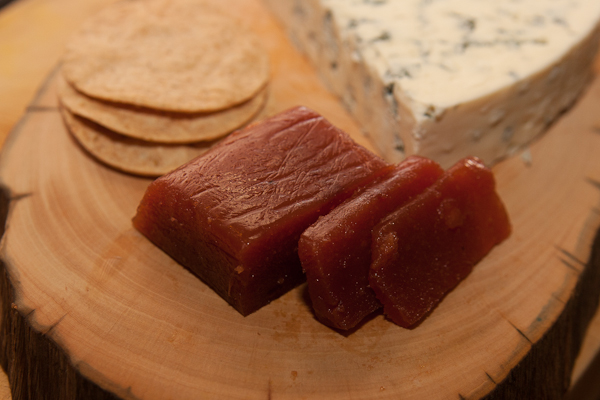
With their rich perfume and deep red colour when cooked, quinces are one of my favourite fruit. They are fantastic simply stewed and served  with thick cream, or in a crumble or pie, but the bulk of the roadside quinces we pick every autumn go to making quince paste. Quince paste (Membrillo in Spain or Cotagnata in Italy) is a ruby red slab of stewed, pureed and dried out quinces that is absolute heaven paired with any cheese with attitude – like parmesan, gorgonzola or goat cheese. It costs an arm and a leg for just a little chunk in the shops so the few hours spent simmering and stirring pay off quickly.

Quince paste sets primarily because of its high pectin content. Pectin forms a gel when cooked with sugar and acid (lemon juice here) and if you get it just right, the paste will set as soon as it cools. If it doesn’t set quite right, simply drying out the paste helps it become stiff enough to slice. Drying can be accomplished by leaving the paste in the oven on the lowest setting overnight, door open a crack, or leaving it anywhere warm like a car until dry enough.

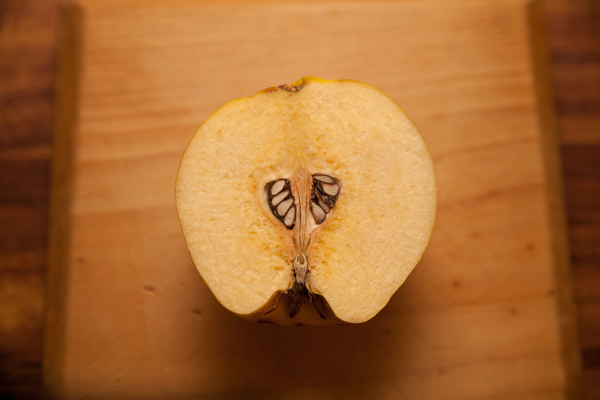
quince paste (1 of 11)

 Ingredients

  • 8-10 medium quinces, peeled and cored. The apple peeler I described here works surprisingly well. Just a note – in On Food and Cooking, Harold McGee says the skin can be left on for more aroma. I haven’t tried this yet so proceed with caution as quince skin can be furry. I’d scrub it well at least.
  • Raw or white granulated sugar
  • Juice of 1.5 lemons

Method

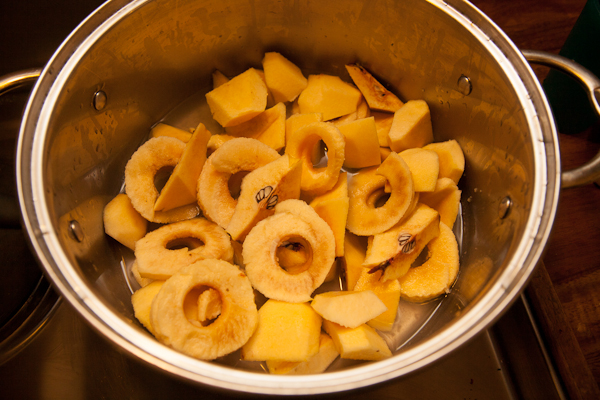
Roughly dice the peeled and cored quinces. Add to a large saucepan with 2 cups water. Adding half the cores can help the paste set even better, but you have to either pick them out or ignore the odd grainy bit in the finished paste (not objectionable). Bring to the boil and simmer for 30 minutes.

quince paste (2 of 11)

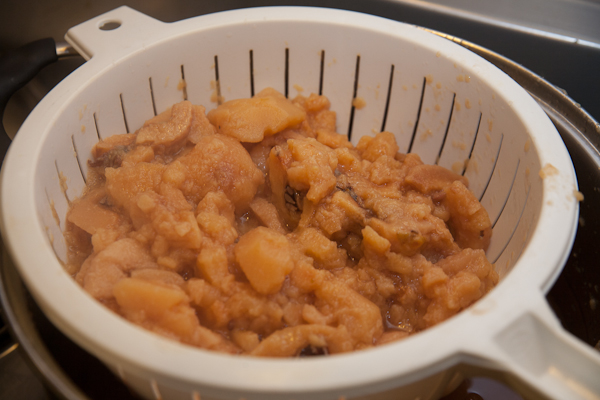
This next step is a little fiddly but it helps get the sugar quantity just right so the pectin sets properly. Tip the cooked fruit into a colander set over a bowl to catch the juices. Weight the fruit alone and then weigh 3/4 of that weight in sugar. Add sugar, fruit and juices back to the saucepan. If you can’t be bothered with all that measuring, just add 4 cups of sugar and hope for the best.

quince paste (4 of 11)

Here’s where you need to get comfy – the mixture needs to be simmered over low-medium heat for 2-3 hours, stirred every few minutes. I settle in with a book in one hand and a spatula in the other. Scrape the bottom as you stir, and consider wearing a glove or mitt as the mixture can spit globs of molten fruit and sugar.

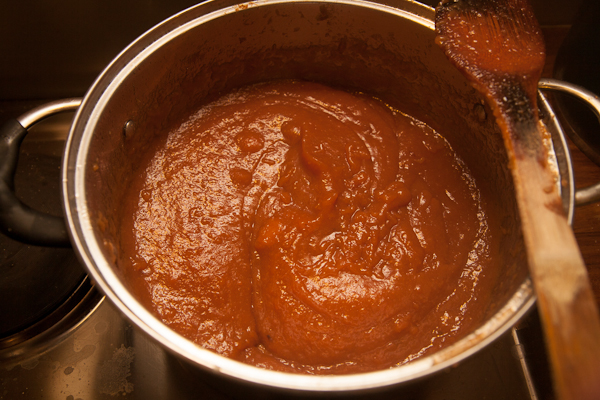
The lumps of fruit need to be pureed till they are smooth at some point but if you leave it as long as possible, the mixture doesn’t spit and stick quite so much. I remove any obvious cores and then puree after about an hour of simmering, with a stick blender, food processor or food mill.

quince paste (7 of 11)

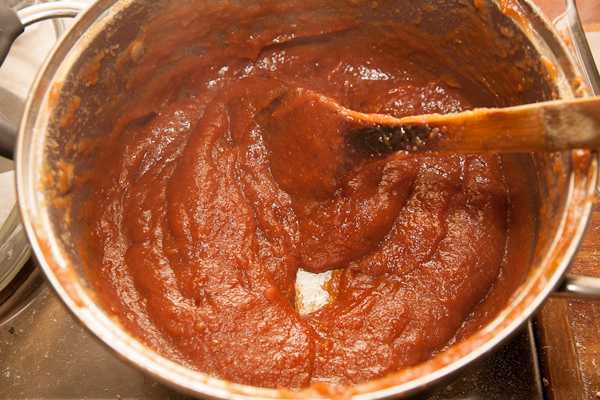
The goal here is to reduce the mixture to a thick paste and get that lovely deep red colour. The colour comes with time more than anything, so if the paste is looking very thick but not yet the colour you want, add half a cup of water at a time and keep cooking. When the paste is quite thick and starting to stick together when stirred, add the lemon juice and keep cooking.

quince paste (9 of 11)

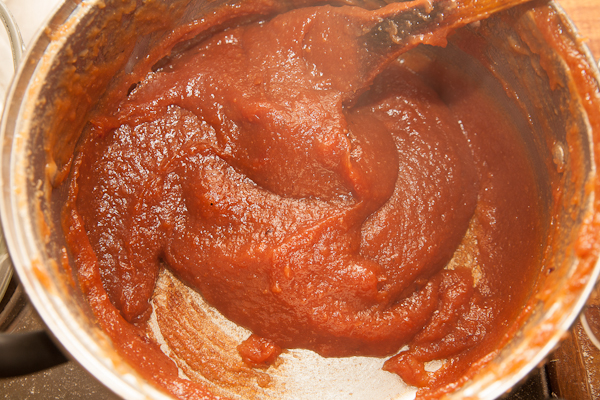
It’s ready when the mixture can stand up in peaks when stirred, and it might be pulling away from the sides of the pan when stirred. You can flick a drop onto a plate and see if it solidifies a little as it sets.

quince paste (8 of 11)

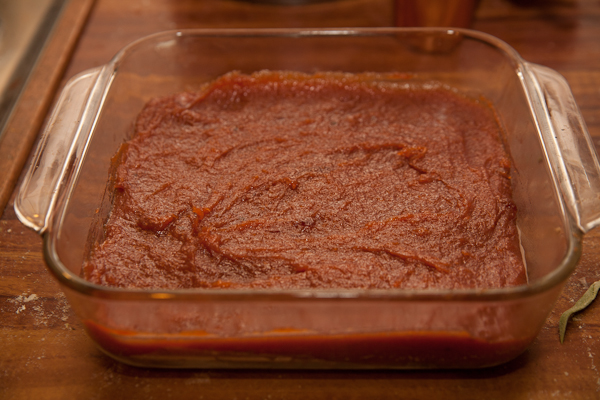
Line a baking tray with baking paper with a drop of oil rubbed over it and pour the mixture in. Use the back of a wet spoon to smooth down the top, cover and set aside to dry. A smaller pan will yield a thicker slab of paste obviously.

quince paste (10 of 11)

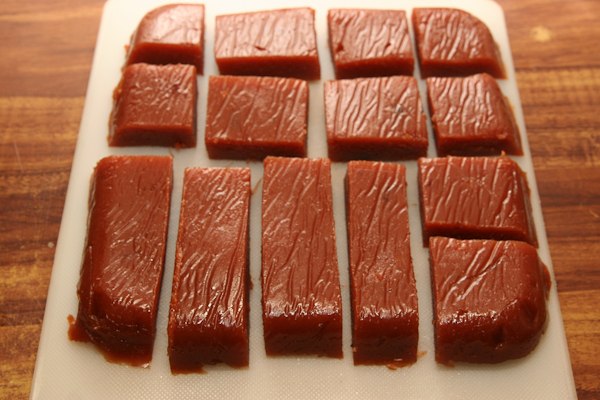
When completely cool, prod to see if it is solid enough to turn out. If not, dry as above. When solid enough, turn out onto a chopping board and cut into slabs. I cut different sizes for different occasions – little ones for a cheeky nibble and big ones for entertaining guests. The pieces keep best wrapped tightly in cling wrap, then bagged. They last for a long time – after 9-12 months you might find some of the sugar starting to go crunchy round the outside, but this doesn’t affect the flavour.

quince paste (11 of 11)

Heaven!

quince paste (1 of 1)

Variations

I sometimes add a star of star anise, or a stick of cinnamon for another layer of flavour. Recipes for Membrillo, the Spanish version, often add 1 scraped vanilla pod. Recipes for Cotagnata, THe Italian version, sometimes call for a few bay leaves.

More Reading

Simply Quince – history, traditions & recipes

Cotagnata – Sicilian Quince Paste

How to make Membrillo – you’ll see that all the recipes are very much similar.

Green Tomato And Apple Relish

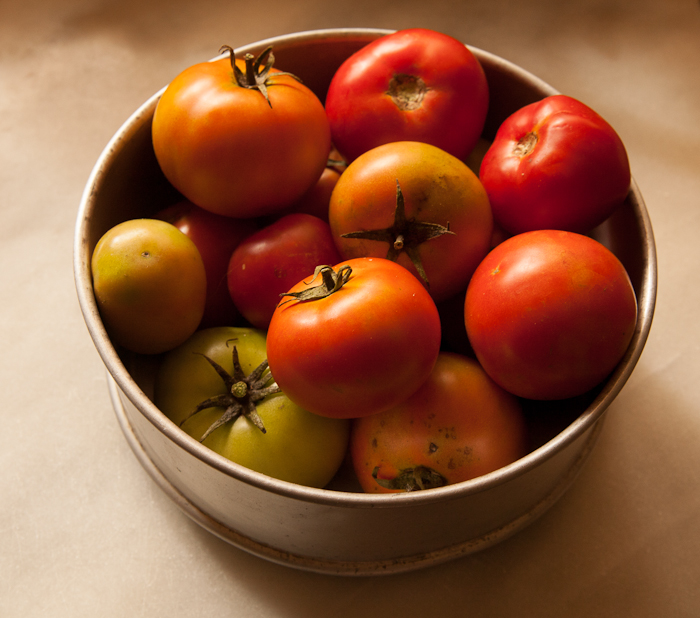
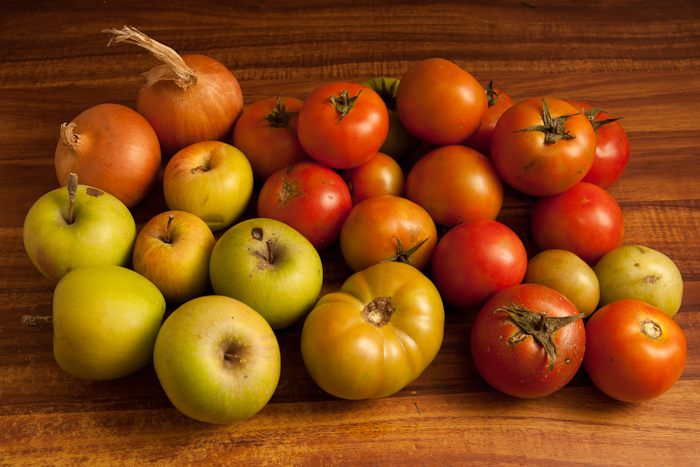
Tomato season is over, just a few stragglers on the vines plus a few that will never ripen now. Yesterday I helped pull down the plants and trellis from my mums tomato patch to make room for something else. I came home with a big box of green/orange/red tomatoes for making delicious green tomato relish. Its great having a few jars of homemade chutney and relish around – they keep well in or out of the fridge because of the vinegar. A sandwich made with this relish on good bread with a nice sharp aged cheddar is heaven!

chicken sage sausages (1 of 9)

I based my recipe on Stephanie Alexander’s indispensable The Cooks Companion, but I added apples too since I have some nice ones to use. This is a spicy relish with lots of subtle flavours, but you can change the spices around as you like. Cumin is great in chutneys and relishes so often I use that too.

chicken sage sausages (2 of 9)

Ingredients

  • 1kg (2lb) tomatoes – a mixture of green and ripe ones. All ripe tomatoes can be used too for a richer sauce. If you can’t find green tomatoes any supermarket ones will do. See what I did there?
  • 1/2 kg (1lb) apples
  • 1/3 cup white wine vinegar
  • 1/2 cup sugar
  • 2 tsp seeded mustard
  • 2 tsp Garam Masala
  • 1 tsp mustard seeds
  • 1 tsp paprika
  • 1 tsp salt
  • 1 tsp cornflour
  • 1 pinch powdered clove
  • 1 pinch chilli flakes
  • 1 pinch turmeric powder

Variations

Not everyone likes sultanas in relish but if you do, add half a cup. If you have vincotto, add 1-2 tsp for a hint of sultana and caramel sweetness.

Method

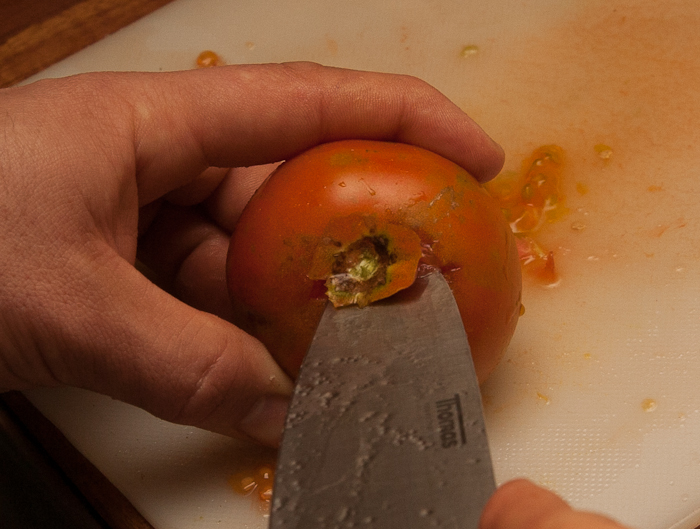
Slice tomatoes and onions. Peel, core and slice apples. It’s easy to nip out the stem bit of each tomato with the end of a knife but not essential.

chicken sage sausages (3 of 9)

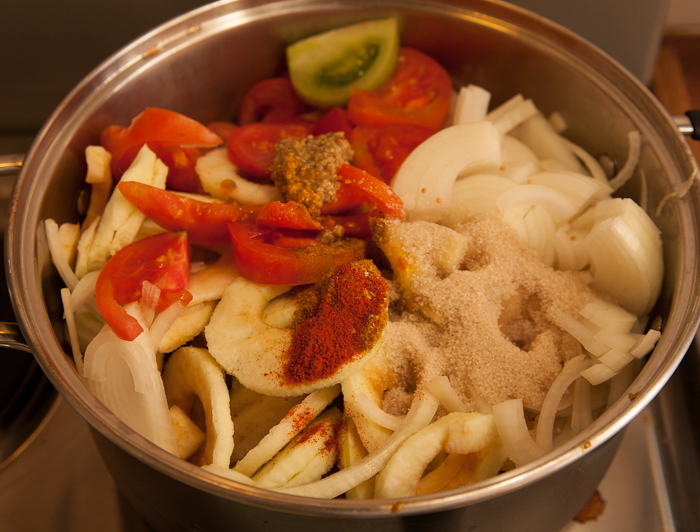
Tip all ingredients except the cornflour into a large saucepan.

chicken sage sausages (5 of 9)

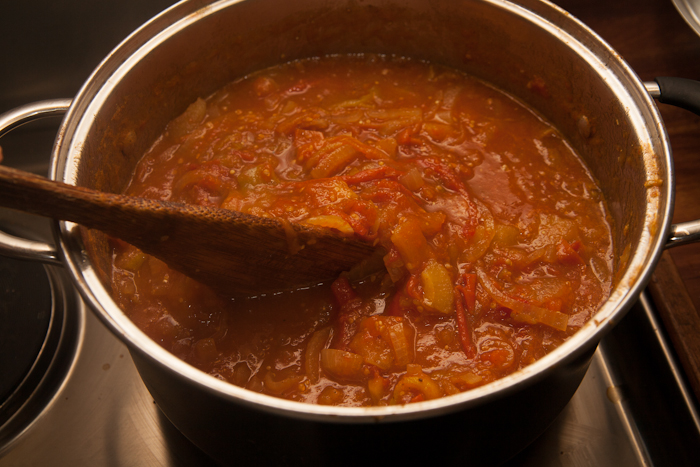
Bring to a boil, then reduce the heat to a simmer. Cook for around an hour, stirring every 10 minutes to check it isn’t sticking. Most of the free liquid should be reduced.

chicken sage sausages (7 of 9)

Mix the cornflour with about 1 tbsp water and stir well. Spoon out a little liquid from the sauce and mix with the cornflour paste. Tip the mixture back into the sauce pot and stir well. Simmer for a few more minutes.

Remove from the heat. Use a stick blender to break up any larger lumps, but don’t puree it too much – leave some texture.

chicken sage sausages (8 of 9)

Taste for sweet/sour balance and if necessary add a little more vinegar or sugar to taste.

Pour into sterile jars – an easy way to sterilise jars is to run them through the dishwasher. The vinegar in a relish makes it unlikely to spoil, so you don’t need to boil the full jars like you would if canning vegetables. If you want to be extra cautious put the jars in a large saucepan, tip in hot water nearly to the top of the jars and simmer for 30 minutes. I always put a tea towel under the jars when doing this so the jars don’t jump around and crack.

chicken sage sausages (9 of 9)

If you liked this…

A Quick Guide to Making Preserves

Home-Made Pickles, Chutneys & Relishes: A practical guide to making delicious preserves at home

How To Make Vincotto

Every winemaking season we put aside a few buckets of grapes to make delicous syrupy vincotto – also called vinicotto or vino cotto. Although vincotto translates as “cooked wine” the version I’m familiar with isn’t alcoholic – just a sweet reduction of fruit juice. We make a big batch using freshly pressed grapes but we have also experimented with bought, bottled grape juice and found that it works well. I recommend that if you use bought juice, you look for a preservative free one or else you will be concentrating the preservative too. Just 100% dark grape juice. Organic juices seem to give cleaner flavours than the cheaper stuff in plastic bottles but experiment with different brands to see what works best.

To make vincotto all you do is simmer grape juice over a low heat for several hours, until it is reduced to a syrupy liquid. Then bottle in clean bottles and store – it keeps well and improves with age. We found a seller at a farmers market with vincotto that had been aged on oak and tried this ourselves. The oak adds another layer of flavour that is pretty interesting, so I recommend trying it out. You don’t need a barrel, just get some oak chips used for winemaking from any homebrew store or from Amazon here. Tie the oak chips in the end of a stocking or a scrap of muslin. Put this in a big jar, and fill it with vincotto. I’d use about 1tbsp of oak chips per 1 liter/2 pints, and give it a stir every week or so to distribute the flavour. Taste it often and take out the oak when it tastes right.

vincotto (1 of 1)
This batch was made of Pinot Noir grapes so my mum called it Pinot Cotto. Ha ha.

How To Use Vincotto

Use vincotto anywhere you’d use maple syrup or similar sweet dressings. We eat it drizzled over pancakes or buttered crumpets, or with icecream and stewed fruit. You can use a dash of it in any savoury dish that needs a little sweetening for balance too – sometimes I’ll add 1/2 tsp to a rich pasta sauce or meat stew. My personal favourite though is polenta wedges with cream and vincotto. This would be part of my last meal – the intense sweet/tart/caramel flavour of vincotto powers through soft buttery polenta with cool whipped cream to contrast – I’ll write up the recipe tomorrow!

Canning Tomato Passata

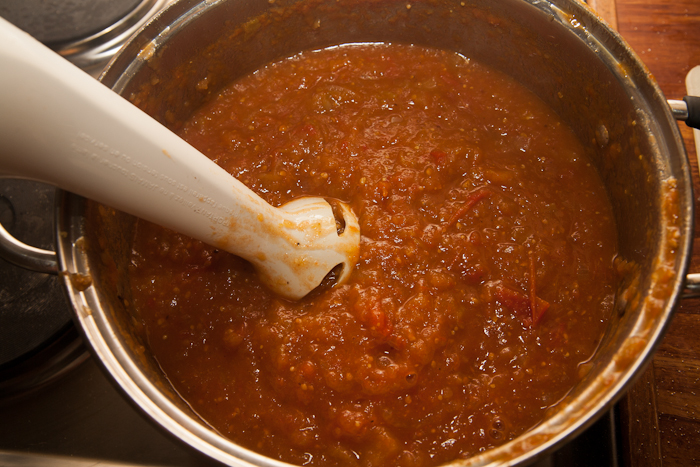
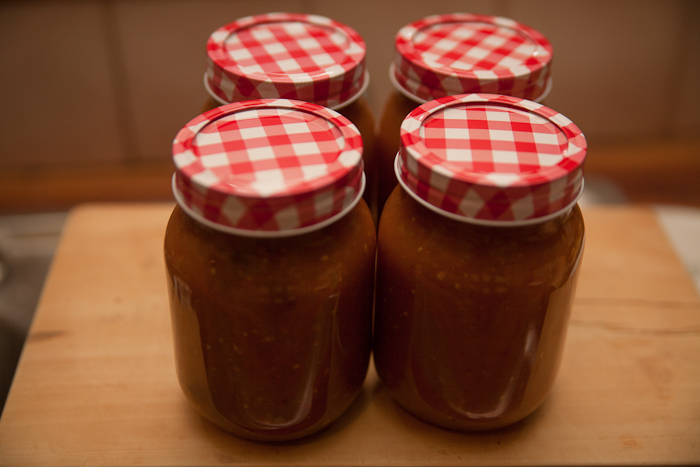
tomato sauce (1 of 1)

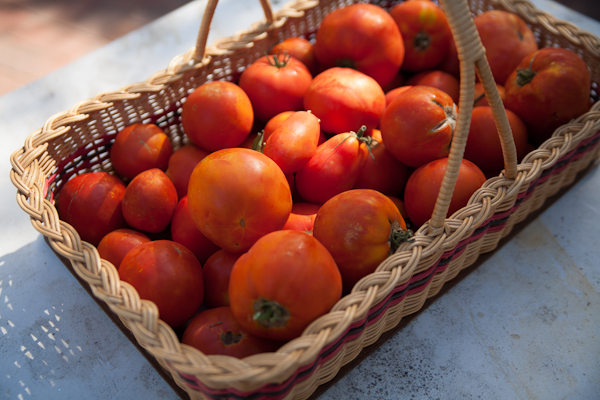
The end of summer is a delicious time. The last month or two we have had tons of zucchinis, eggplant, onions, apples, peaches and more but just maybe the most delicious – beautiful tomatoes. We eat as many as we can and bottle the rest as sauce. I can’t recommend this enough – if you can start with good, ripe tomatoes and make a simple sauce the difference between home made and bought sauces is mind blowing.

If you’re growing your own tomatoes it makes sense to save up as many as possible and do one big sauce making session. This usually means picking as they ripen and storing in the fridge for a few days while stocks slowly build up. When we haven’t grown our own some years we have bought a few boxes from farmers markets or grocers.

The best way we’ve found to make a simple sauce is to simmer the tomatoes in big pots until just soft, then let them sit in a colander for a minute to drain. Or you could try the approach of roasting your tomatoes first – this does look pretty tasty I admit! After cooking, use a tomato mill like the one I reviewed here last year or a mouli (vegetable mill) to get the skin and seeds out. You can jar them at this point but you’ll probably end up with quite a runny sauce, which will separate in the jars. This isn’t such a bad thing but this year we took our sauce and simmered it over low heat for a few hours, until reduced in volume by about a quarter. The taste of this reduced sauce… I’m drooling again thinking about it.

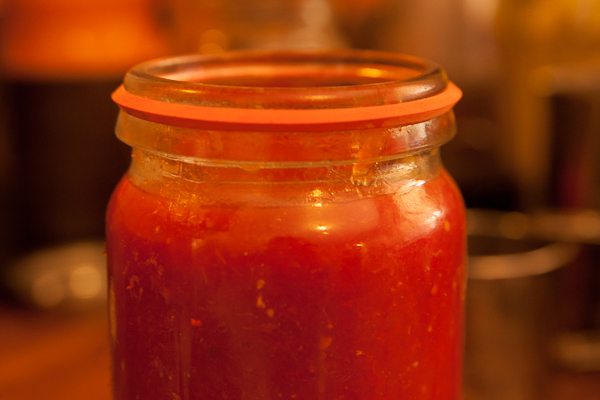
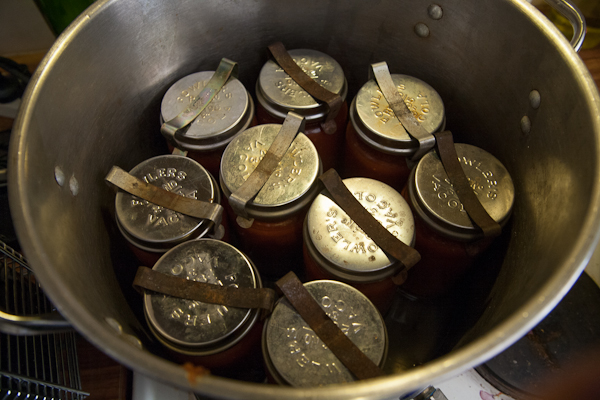
There are lots of different styles of jars for preserving or ‘canning’ vegetables. Although expensive new, we have found many crates of them at garage sales and op shops for a fraction of the price – just make sure you can still get the rings and lids for whichever ones you get. We use Fowlers brand jars as the parts are available new if you need them. To use these jars you fill to about an inch from the top, and slip over a rubber seal, the lid and a clip to hold it down. Before we got jars we used long neck beer bottles with crown caps from a homebrew store, and you can save and reuse any jars or bottles as long as they have good metal lids.

When full put all of your jars in a big stock pot and add water to just below the lids and slowly bring to a low boil. I boil the jars for an hour, then let them cool slowly in the hot water to be on the safe side.

tomato sauce (1 of 1)-4
Here’s how the seal should sit on the jar – these are a bit fiddly to get on but you soon get the hang of flicking the twists with your thumb to straighten them up.

If you have a dedicated ‘Vacola’ pot for boiling the jars, it has a raised platform in the bottom so that the jars aren’t right on the hot bottom of the pot. If you’re using a stock pot, bring to the heat slowly or the jars can crack – either from the heat or bubbles jittering them around. I’ve seen people put rags or tea towels on the bottom to stop this happening.

tomato sauce (1 of 1)-5
Another batch of sauce ready to boil.

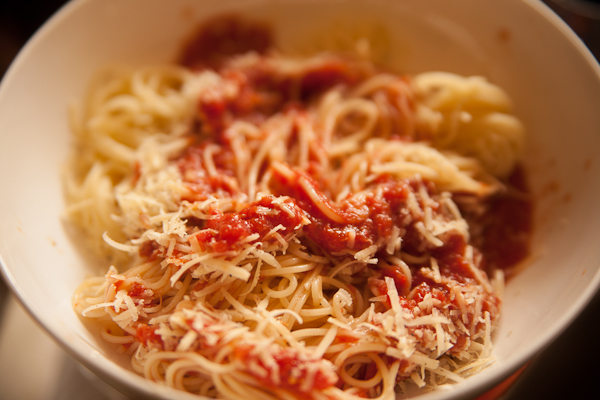
If you’ve been making sauce all day and need a quick meal, take a ladle full of your fresh sauce, grind in a little salt and pepper, cook up whatever pasta you have lying around – thick shapes like spirals work well but anything goes and hit it with the sauce. Grate a little parmesan on top if you have it. Might not look like much but the clean flavours and textures are so good.

tomato sauce (1 of 1)-6

More:

Mouli on Amazon (or try second hand shops) – this is a good, cheap option for making smaller batches of sauce.

The Squeezo – I covet this after reading eatatdixiebelles post about it

Picking And Curing Olives

Olive oil is an important part of Italian cooking, at least for some regions – that spicy, peppery taste gives an extra dimension to anything it touches. I’ve always wanted to make my own oil but my olive tree is still too small and experiments with wild roadside olives have produced mixed results. This year I got lucky though – my uncle has an untended olive grove on his property and invited the family to come pick some before the emus got them!

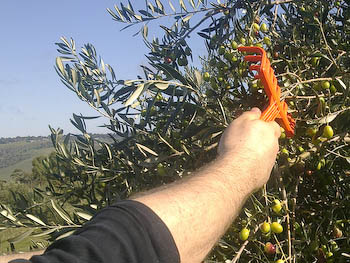
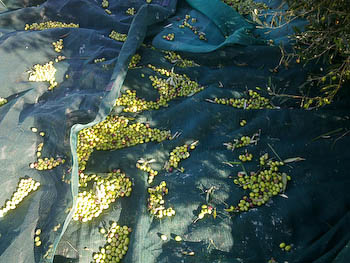
Picking olives by hand takes a while, but there is a trick to doing it efficiently. We spread large pieces of shade cloth and tarpaulins on the ground, and then attacked the trees with olive rakes – small handheld plastic rakes that slip easily over leaves and branches but catch the fruit. When each tree was bare, we carefully gathered up the shade cloth and tipped olives into waiting buckets. The olives go to a local plant for pressing. Olives can yield around 10-15% of their weight in oil; I’d be very happy if my share is 20 litres.

Using an olive rake
Collecting the olives

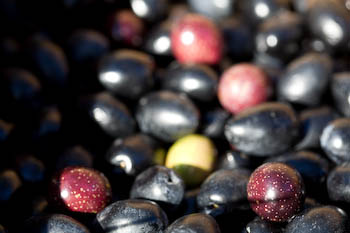
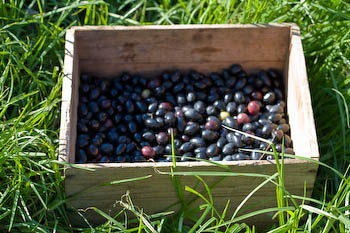
My uncle also has a stand of plump Kalamata olives, so I picked some for curing. Preserving olives isn’t too hard but there a lot of variations – some recipes use lye, some dry salt, some brine and some fresh water. I don’t love the idea of using lye (sodium hydroxide) and in the past my fresh water cured olives have tended to go off more easily, so this year I tried wet and dry salt curing. If they taste as good as I hope these will end up on pizza in tapenade, salads and foccacia among many other uses!

Kalamata olives for curing

Brined olives

Rinse olives, discarding any soft or shrivelled ones. Fill a clean jar or crock pot with the olives.
Make up brine with 5% cooking salt by volume –half a cup of salt in 10 cups of water. Pour this brine over the olives until covered.

Olives need to stay completely submerged while curing so that mould doesn’t get a chance to grow above the level of brine. A helpful trick I picked up a while ago is to place a loose piece of cling wrap over the vessel, press it down to the surface, then pour a little more brine on top.

Change this brine every day or two, until the olives are no longer bitter – this might take a few weeks. Taste regularly after the first week so you know when they are done.

Finishing brine

Once the initial curing is complete, the olives are marinated in a finishing brine mixture. This mixture helps preserve the olives and can also add other ingredients for flavour. I use one third of a cup of salt to 5 cups of water and 2 cups of red wine vinegar. Other common ingredients are bay leaves, rosemary, garlic, oregano, chilli or basil – add any of these to your own taste. Fill clean jards with the olives, top up with finishing brine and then add a layer of olive oil which will float on top of the jar and prevent air contact. Olives preserved in this way should last for up to a year in the fridge, but will likely be eaten long before that!

Dry cured olives

Half fill a large jar or crock pot with olives. Pour over coarse sea salt until the olives are covered.
Every day, carefully tip out any liquid that has collected in the bottom of the vessel. Taste the olives every week or so until they no longer taste bitter, then preserve with finishing brine as above.

Dry salt cured olives

Resources

Cooking with olives

Pickling olives – includes lye methods

Olive oil from tree to table

Salt cured olives recipe

You Need A Tomato Press

Our family has been growing a large patch of tomatoes for a few years now, and bottling our own tomato sauce for pizza sauce, pasta, and everything else. When you are processing a large quantity of tomatoes you quickly realise that pressig them through a sieve, or even using a food mill, is going to take an awful long time.

We got around this problem by ‘borrowing’ a tomato press from a relly – I say ‘borrow’ because they haven’t asked for it back yet, and it’s far too useful to get rid of it unless we have to!

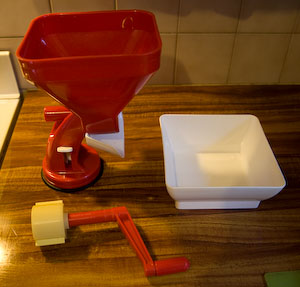
This machine is a pretty simple design, consisting of a large suction cap mounted base (very useful, pasta machine manufacturers please take note) with a funnel for the tomatoes, a tray to catch the pulp, and a spring loaded handle.

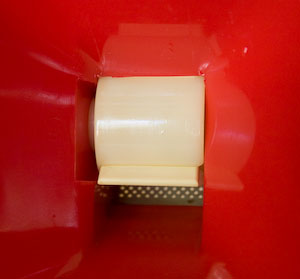
It all hinges on the white part of the handle that you can see, which sits under the funnel. There are two small spring loaded paddles protruding from the side, and these press the tomatoes against a wire screen which is just fine enough that seeds and skin slide past while the pulp and juice pass through. Here’s the tomato mill in all it’s glory (excuse the photo) together with a shot of the inside with the handle/scraper mounted:

To start processing tomatoes, you just briefly simmer them in boiling water to loosen the skins, and start dropping them into the funnel. It’s not a bad idea to cut larger tomatoes in half once they have been simmered, but mind your fingers – they are hot. Alternatively, squish them down into the machine with the handle of a wooden spoon as you go. A word of warning – remove any protruding stems as they will block the machine up.

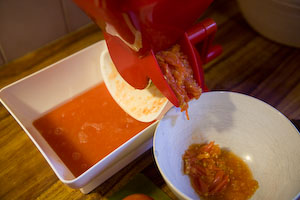
Here’s the tomato strainer in action, you can see a bunch of skins being pushed out the side and lovely tomato sauce being produced. Don’t throw the skins out straight away though – I have found a good quantity of extra tomato pulp can be produced by running the skins through the machine a second or even third time. My one criticism, at least with the machine we have, there is a bowl supplied to catch the pulp but nothing to catch the skins. You can manage with any bowl though.

When you are finished, the whole thing comes apart neatly to clean up (and it will be messy). Make sure to pull apart the I-shaped plastic blades, as sauce gathers in between them.

The good news is that a tomato machine like this one can be found cheaply online, Amazon have the exact model here for under $50 last time I checked. I highly recommend a similar version if you’re planning on processing any amount of tomatoes.